UK Card Shows & Events: Where Collectors Actually Meet
UK card shows explained: how the circuit works, what to expect at your first event, haggling etiquette and how to spot good deals. Meet the hobby.

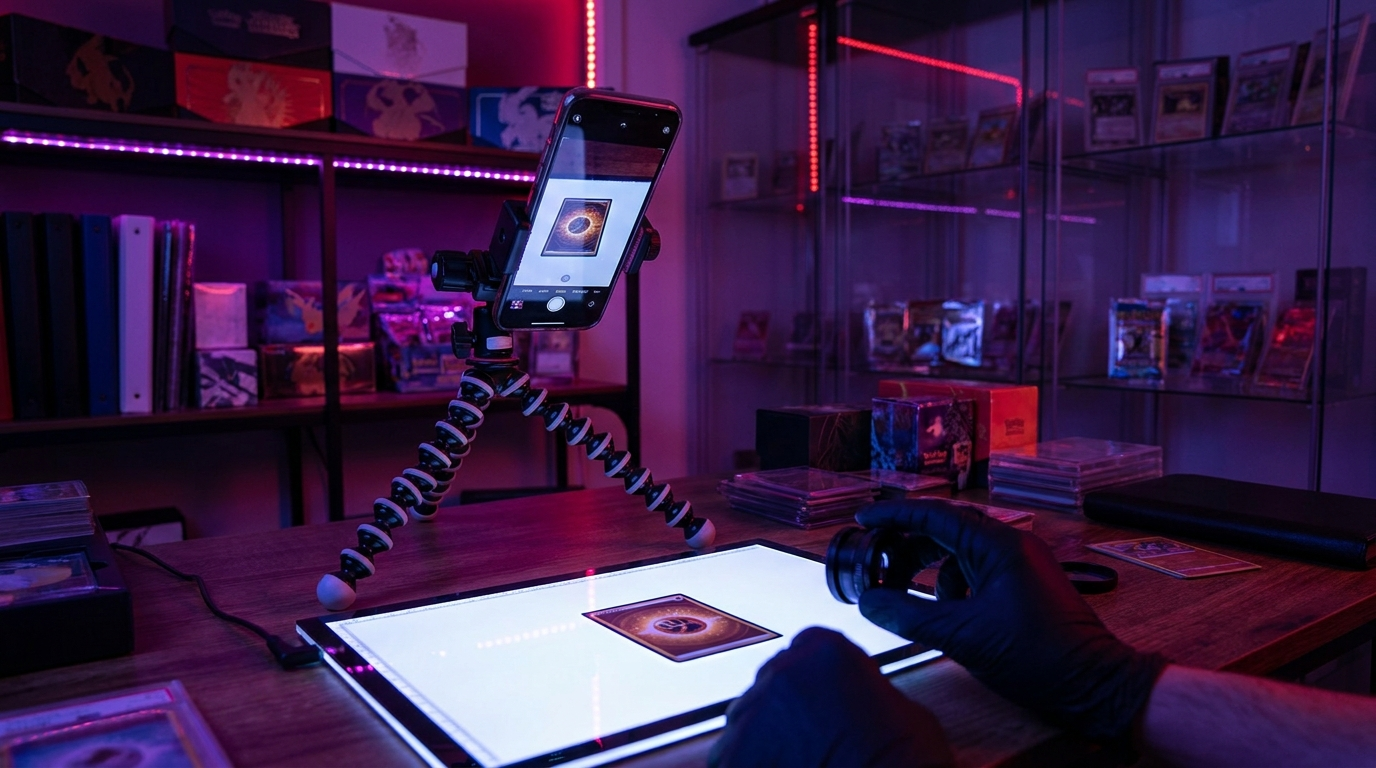
Great card photos sell cards, settle condition arguments before they start, and make your collection posts actually worth looking at. Yet most listings are lit like interrogations and blurred like getaway footage. Learning how to photograph trading cards properly takes about an hour of practice and equipment you already own.
This is the setup we use for shop photography and the same principles apply whether you’re listing a £5 card or showing off a grail. No studio, no £1,000 camera — a phone, sensible light and a few habits.

If you remember one thing: the light matters more than the lens. A mid-range phone in good light beats a professional camera in bad light, every single time.
Position the light at roughly 45 degrees to the card, never straight on. Straight-on light bounces directly back into the lens — which is where glare comes from.
If you photograph cards regularly — selling in volume, documenting a collection for insurance — a small light tent is the one purchase worth making. These fold-flat fabric cubes with built-in LEDs cost little, produce perfectly even light every time, and remove the weather and time of day from the equation entirely. Not essential for the occasional listing, transformative for a weekly one.
Modern phones are genuinely excellent card cameras if you drive them properly:
Holos, full arts and textured cards are the boss fight: the foil that makes them gorgeous also throws light straight back at the camera. The fix is angles, not equipment:
Graded slabs are their own puzzle: two layers of reflective plastic between the lens and the card. The same 45-degree lighting applies, but add a gentle forward tilt of the slab — five degrees or so — to throw the case reflection downwards and out of frame, and wipe the case first, because slab fingerprints photograph beautifully and infuriatingly. For the label, take one straight-on close-up so the grade and cert number are legible; serious buyers will zoom straight to it.
Collector’s tipPhotograph cards in their sleeve only for protection during handling — take the actual listing photos out of the sleeve, or in a perfect-fit. Penny sleeve wrinkle is responsible for half the “is that a scratch?” messages on marketplace listings.
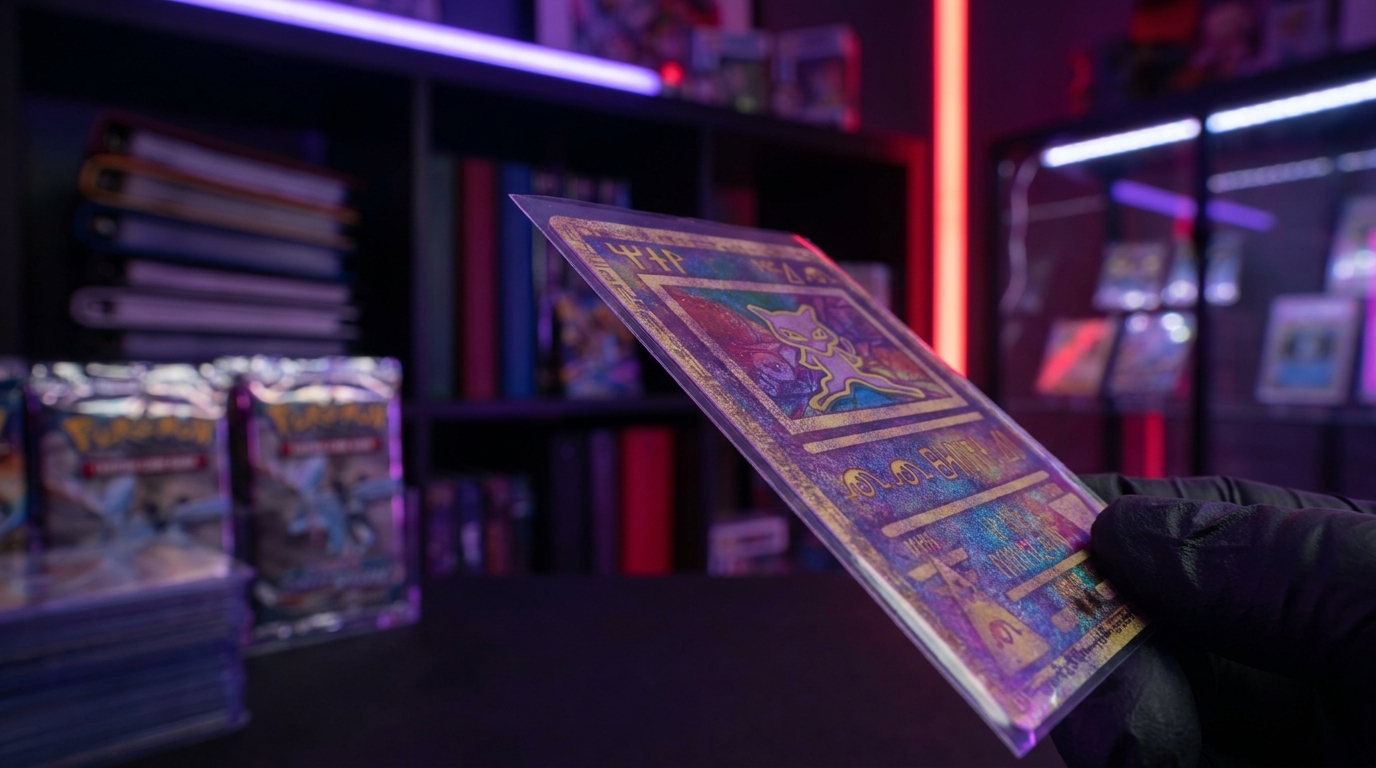
For selling and trading, your photos are a condition statement. The honest set — the one that gets fewer disputes, returns and lowball “actually it’s damaged” messages — is:
This matters because buyers on eBay and every trading group have been burned before; volunteering the tilt shot instantly marks you as a seller who knows what they’re doing. If you’re unsure how to translate what you see into NM, LP or MP, our card condition guide walks through the exact inspection routine, and marketplaces like TCGplayer publish the condition standards most buyers expect you to follow.
Move the light off-axis to roughly 45 degrees with the camera straight overhead. If a hotspot survives, tilt the card a few degrees; for textured cards, use two low, angled lights instead of one.
No. A modern phone held parallel to the card in good light, with the exposure nudged down, produces better listing photos than an expensive camera used badly.
Indirect daylight from a north-facing window, or a daylight-balanced LED at 5000–6500K shone through baking paper or a white pillowcase. Never the phone’s flash.
Front and back straight on, close-ups of all four corners, one tilted shot under direct light, and a photo of any flaw you mention in the description.
Cropping, straightening and modest brightness correction are expected. Heavy saturation, blur near the edges and filters that hide surface detail are not — the test is whether you would be happy with the buyer holding the card next to your photo.
Backgrounds should flatter the card, then get out of the way. Plain works: a sheet of black or dark grey card stock makes colours pop and hides dust; clean white reads as “professional listing”. Avoid busy desks, carpets and bedsheets — texture behind the card makes edges harder to judge. For social posts you can have more fun: a dark background with a single angled light gives cards that moody premium look, and consistent framing across posts makes a feed look collected rather than chaotic.
On editing: cropping, straightening and modest brightness correction are fine and expected — you’re compensating for the camera, not altering the card. Where editing crosses the line is anything that changes how the card’s condition or colours read: heavy saturation boosts, blur tools near the edges, filters that hide surface detail. A good self-test is whether you’d be comfortable with the buyer holding the card next to your photo. If the answer is anything but an instant yes, re-shoot rather than re-edit.
Quick recap: soft light at 45 degrees, phone overhead and parallel, exposure nudged down, angles to kill glare, corners and tilt shots for honesty, plain background. That’s the whole craft — the rest is repetition. For more guides like this across selling, storing and grading, have a browse of the TCG Smiths blog; new posts land regularly, and the photogenic cards to practise on are never far away in the shop.
UK card shows explained: how the circuit works, what to expect at your first event, haggling etiquette and how to spot good deals. Meet the hobby.
Pokémon card trading is the best free fun in the hobby — until a bad trade stings. Value trades fairly, avoid scams online and trade with confidence.
Are Pokémon tins worth buying? We break down the tin line-up, mini tins vs full tins, the value maths and when a tin is genuinely the right buy.